


How to make Wheelchair Racing Gloves with Aquaplast, by Sarah Werner
 Wheelchair racers use several main types of gloves to push with. Racers often start out in the sport with “soft gloves,” which are made of leather and rubber. These provide a wide pushing surface and are useful in developing a good pushing technique.
“Hard gloves” are made out of aquaplast or 3D-printed plastic with rubber glued to the pushing surface. They are lighter and cooler than soft gloves, but can be harder to learn pushing technique when just starting out in racing. 3D printed gloves are rapidly gaining in popularity because they are made for a wide variety of hand sizes and aquaplast can be tricky to mold, especially if you don’t have the help of a knowledgeable person to make them.
The benefits of aquaplast gloves if you have the skill and time to make them are numerous. They allow you to create a glove uniquely fitted to both your hands and your pushing style. They are also significantly cheaper than soft gloves or 3D printed gloves, which cost between $150 and $300.
An aquaplast kit only costs around $40 and comes with aquaplast beads, aquaplast sheets, and rubber sheets. You can make them as large or small as you like, depending in your pushing style. You can glue hook and loop straps if you want a more secure fit. Aquaplast is also easy to remold before you glue anything onto it, so you can start over if you find that the fit is not ideal after you mold them the first time. The kit I ordered came with 16 ounces of aquaplast pellets and two sheets of rubber. Some kits also come with sheets of aquaplast and less pellets. I had the help of my occupational therapist in making these, so we melted the pellets in a hot water bath at 190 degrees Fahrenheit.
The following is a step-by-step guide on how to make hard gloves using just aquaplast pellets. You can easily substitute an aquaplast sheet for part of the process, which I note in the instructions below.
If you’re making them at home, you can get the same result by boiling a pot of water. Be sure to use a pot and utensils that you don’t mind getting plastic on, since the aquaplast tends to stick easily on surfaces. While the water is boiling, also put ice water in a bucket. You will use this to cool the aquaplast before molding it to your hands.
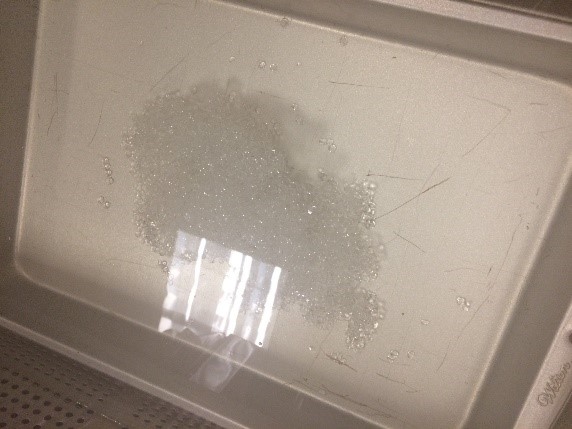
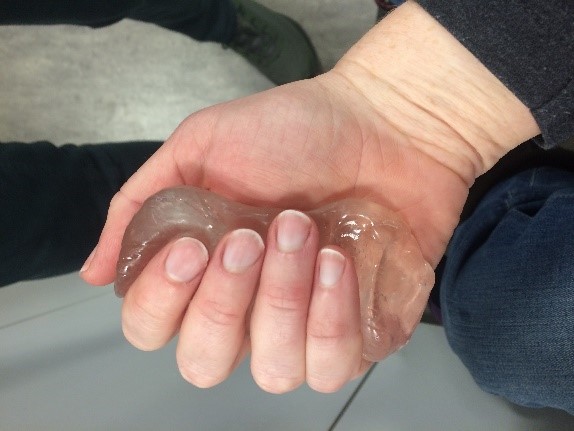
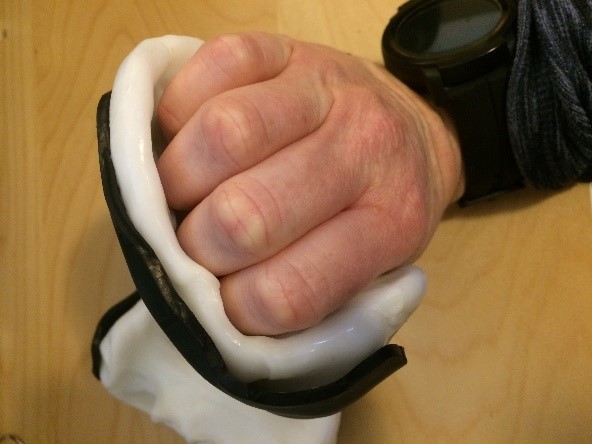
I made the gloves one at a time, and started by dividing the pellets into piles of 8 ounces for each glove. If your kits comes with aquaplast sheets, you will want to use 4 ounces of pellets for each glove. When the pellets become clear, use tongs to push them into a ball and dip briefly in the cold water until it’s cool enough to touch with your hands. Pull the ball apart into two equal pieces (don’t do this if you are using sheets as well), and put one half back in the hot water bath. Squeeze the other half lightly in one hand to form the grip portion of the glove. Have a friend form the second half of the ball into a pancake shape, and place it over your knuckles where you want the pushing surface to be. If you have aquaplast sheets, cut it into the same round shape for the pushing surface.
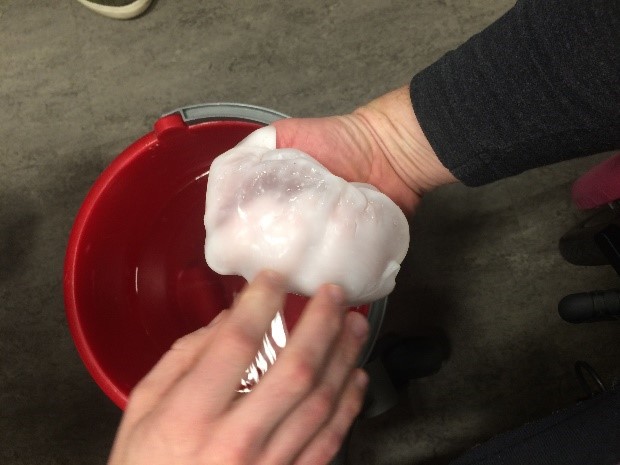
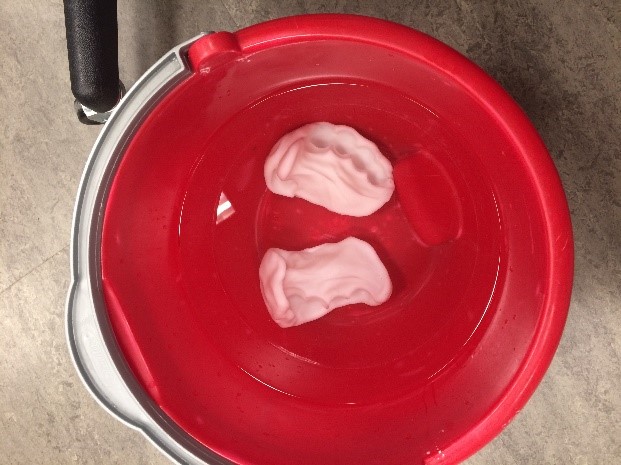
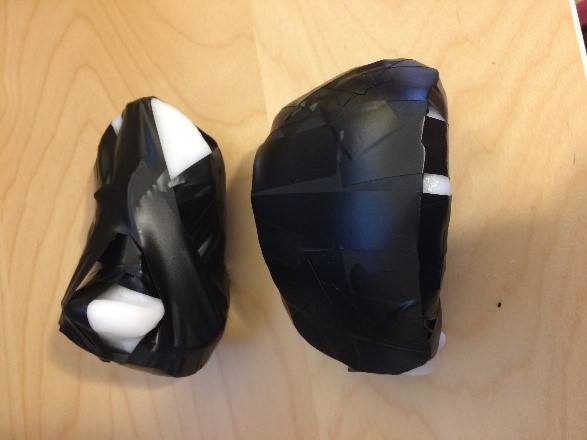
Make sure to push the two pieces together firmly while the aquaplast is still clear and melted. When you have the form you like, put your whole hand holding the glove mold into the ice water until it hardens. While it’s cooling, wiggle your fingers around a little bit to make sure you’re able to remove them after it hardens. When the aquaplast turns white, you can remove your hand and leave the glove to cool in the ice water bath for 15 minutes. During this time you can work on making the other glove using the same steps. After the gloves have fully cooled, you can try pushing with them gently on your racer to make sure the fit is correct and to gauge where the rubber pushing surface should be. If you do this, make sure to clean the pushing surfaces thoroughly before the next step.
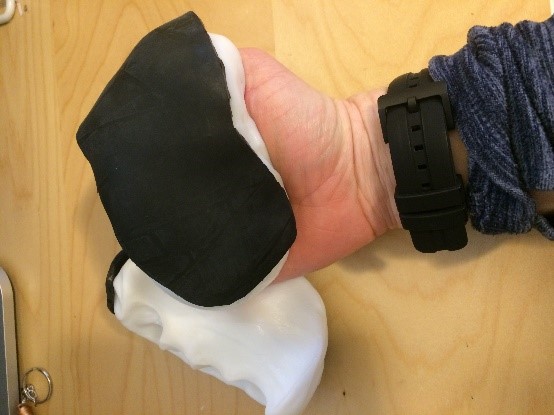
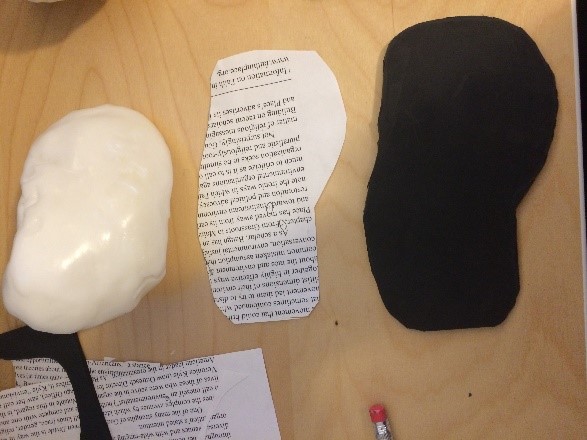
After the gloves have cooled and you’re confident that they’re a comfortable shape and fit, you’re ready to glue the rubber. I used E-6000 glue because I’ve found that it bonds to plastic very well, but you can also use any other adhesive that is designed to bond to both plastic and rubber. Before you start it’s helpful to pre-cute about 10 strips of electrical tape to have on hand to secure the rubber after gluing. To get an idea of what shape to cut the rubber, trace the dimensions of the pushing surface of the glove on a piece of paper first. Once the paper is the desired size, trace the outline onto the rubber and cut it using heavy duty scissors or a knife.
Then apply a thin layer of glue to the rubber and place it on the pushing surface of the glove, using the electrical tape to secure it. It’s important to use tape liberally to cover every edge because the pushing surface is round and the rubber needs firm support to bond properly to it.
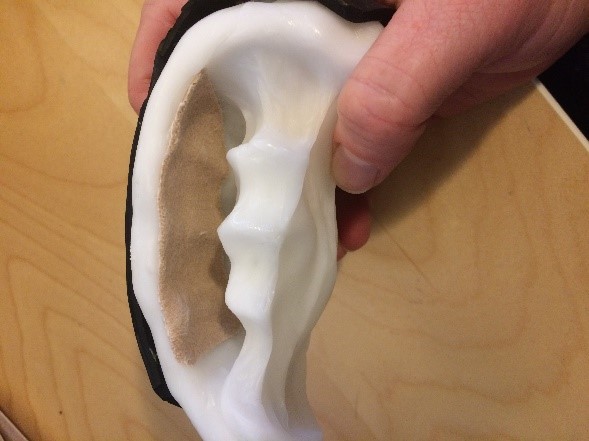
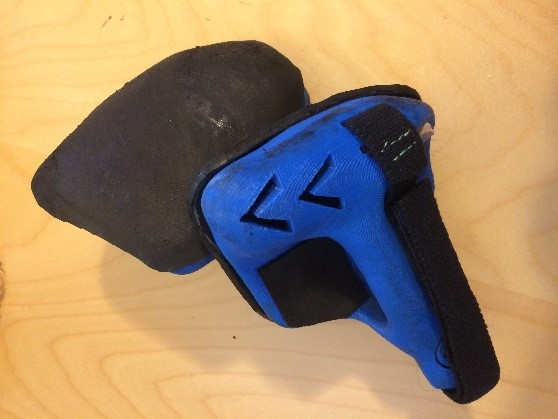
Allow the glue to cure for at least 24 hours before removing the tape. If there are any gaps, you can add more glue and re-tape. It’s helpful for comfort and grip to line the inner surface of the gloves with moleskin where your fingers contact the aquaplast. You can also glue Velcro straps if you prefer a more secure attachment to your hands. I hope this guide will give you the confidence to tackle making aquaplast gloves yourself and be on your way to a superior racing experience. Happy pushing!


You must be logged in to post a comment.